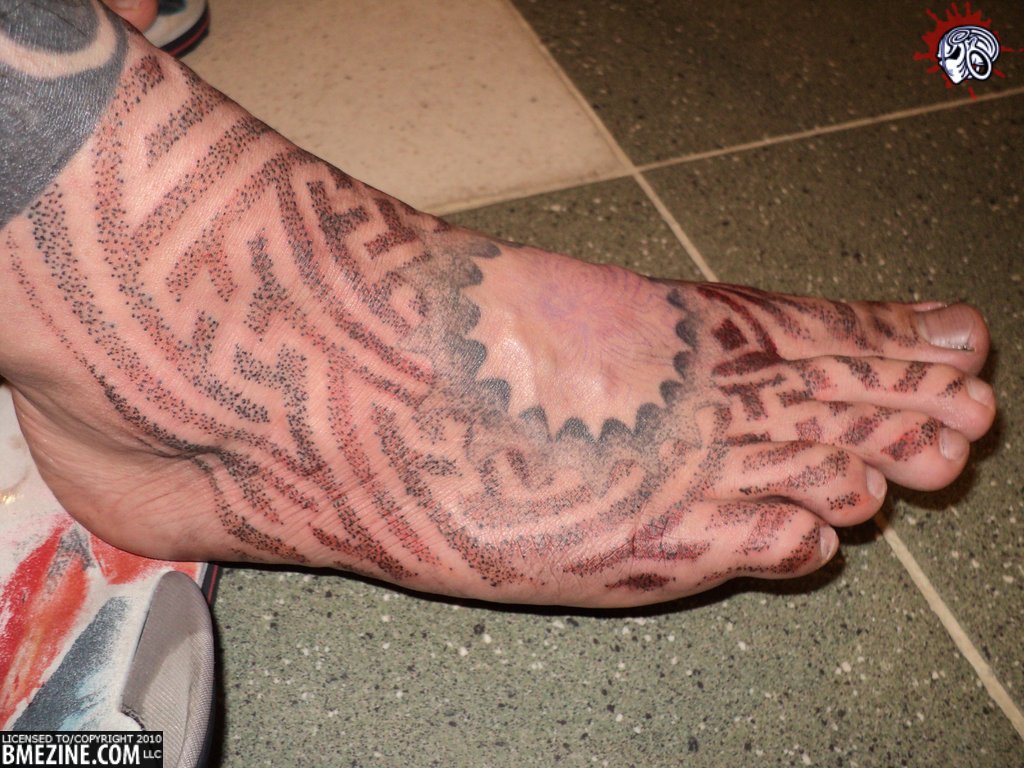
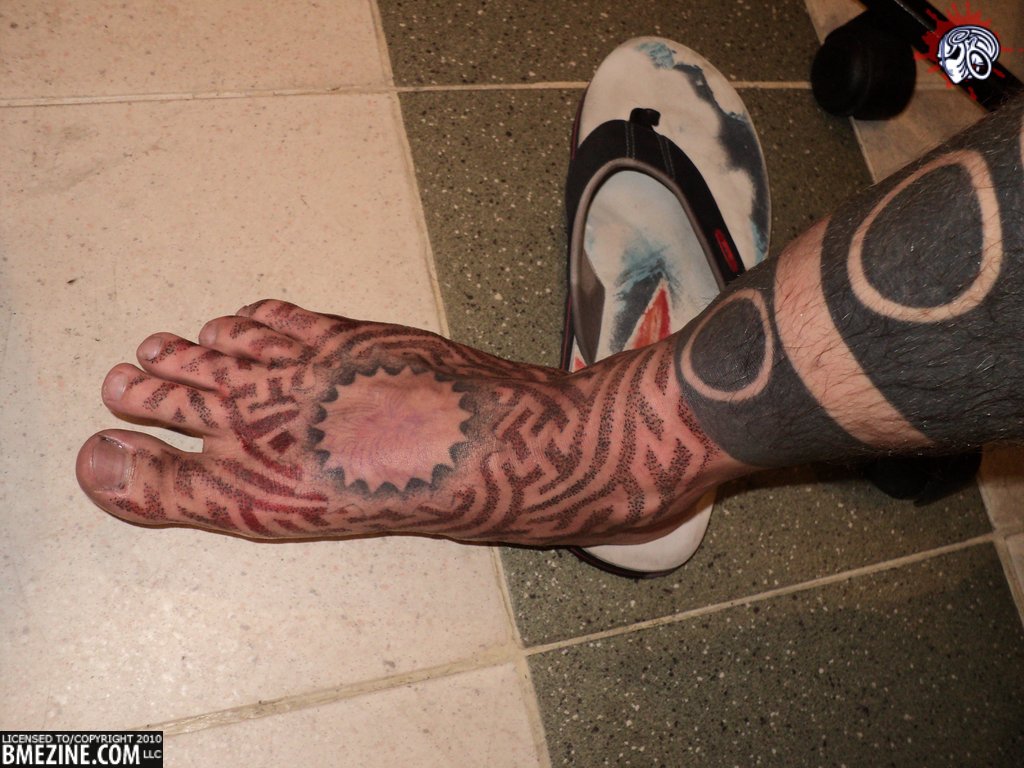
Yesterday’s Guess What Game featured a modification that is not too common in the community, that being self-amputation. A lot of comments were made, and questions asked, so as requested, here’s a look at one of Thumbamputee’s several amputations. The images in the post below come from the BME Hard amputation gallery, and are only a small segment of the many images sent in recently. To view all of them sign up for a BME Hard subscription today.
Due to the nature of the photos, they’re all hidden behind a break. Just hit the read more button if you’re interested in seeing the amputation healing process.
To start with, here’s the image that kicked off the resurgence of interest in amputation, Thumbamputee’s partial thumb amputation.
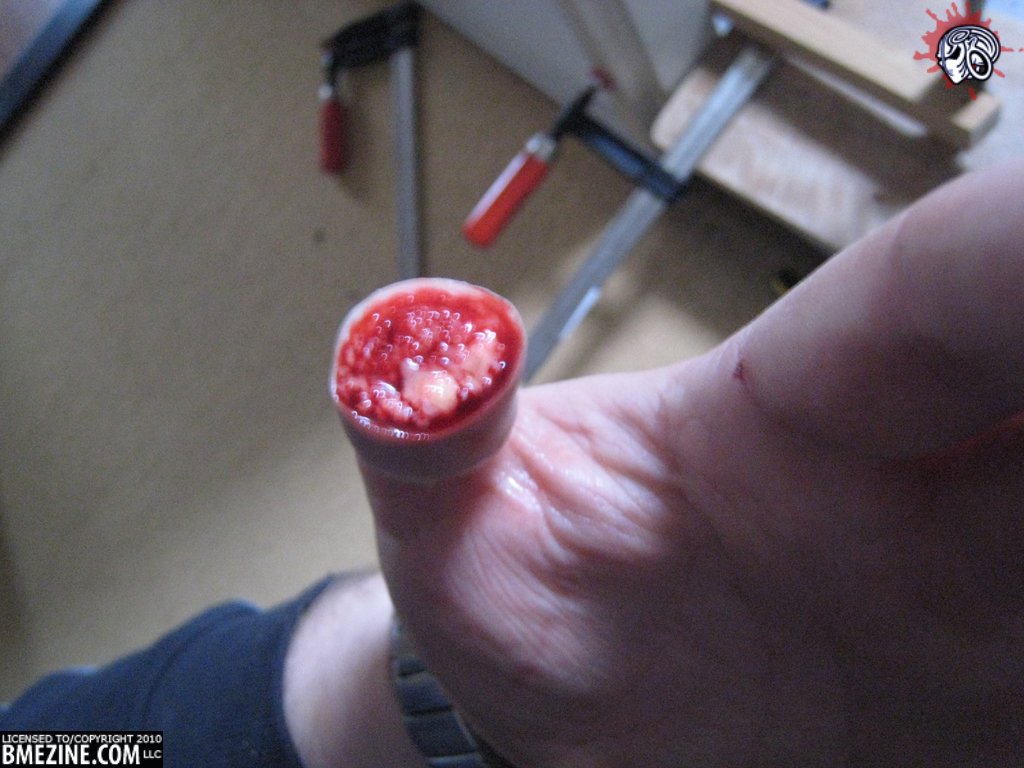
Unfortunately there were no pictures of the actual procedure, nor were there any of the removed digit. If you look closely, you will see that the thumb is wrapped below the cut, indicating that the entire thumb was wrapped prior to the cut, which I assume keeps everything in place, making for a cleaner removal. To give you a better idea of the wrapping, here’s a shot of the removal of the top segment of his right middle finger.
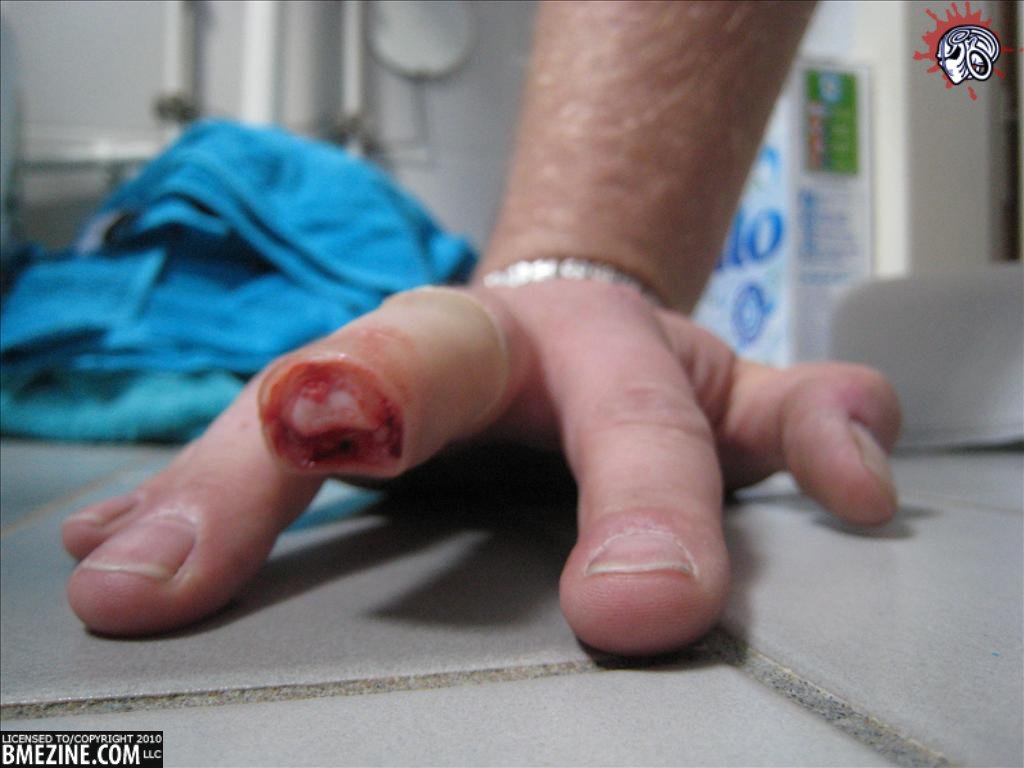
For those curious, there is a full set of pictures for the thumb, as well as the middle finger, and one of his toes. For now, lets get back to the thumb. Now once the part of the thumb has been removed, the next step of course is cleaning and treating the wound, followed by closing up the exposed tissue. By the next day, here’s what the thumb looked like, sutures and all.
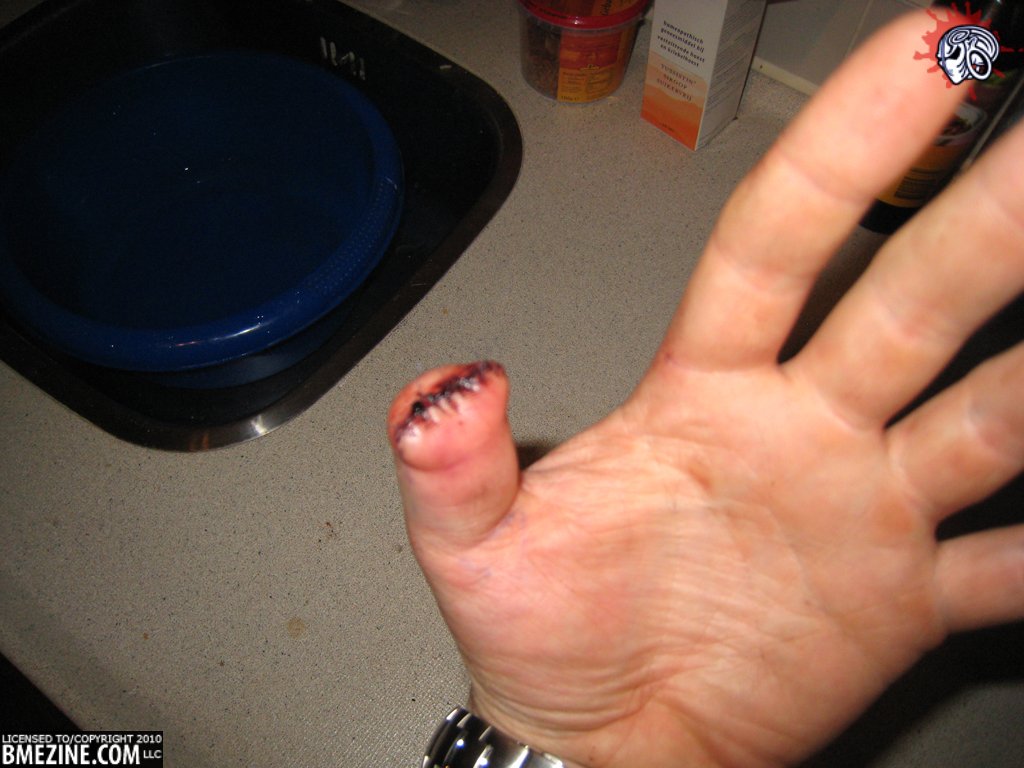
Obviously a lot of irritated tissue, along with fresh sutures. Surprisingly not a tremendous amount of bruising, given the traumatic nature of the modification. One week later, we get a look close up on how the wound is closing.
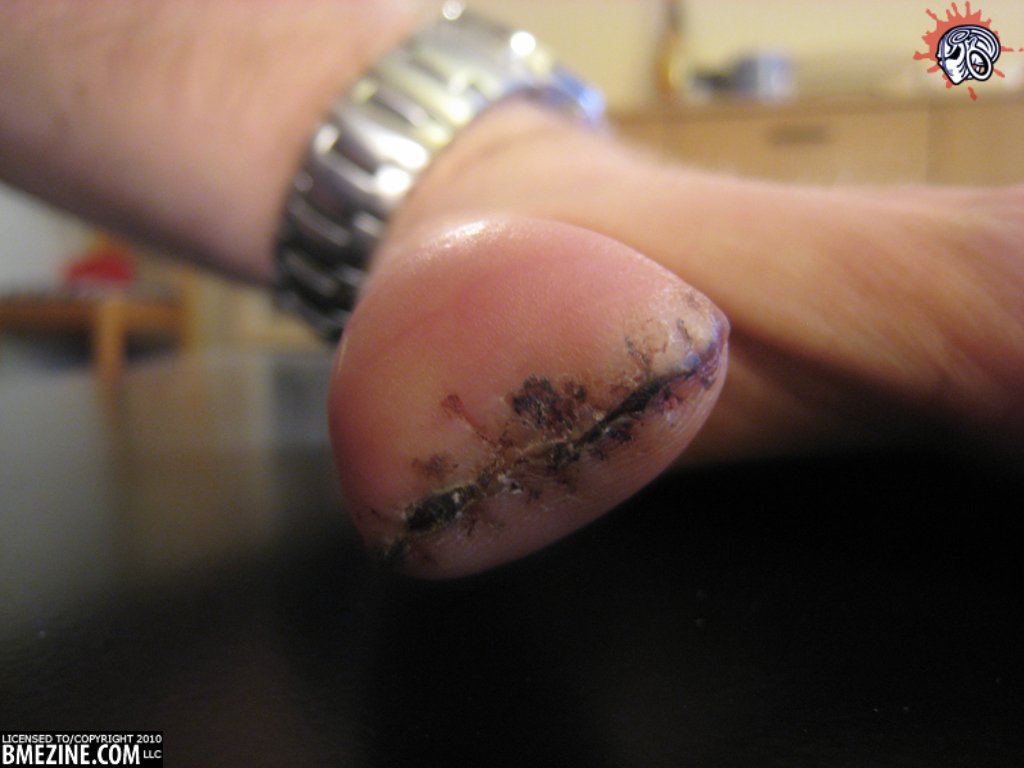
By now the sutures have been removed and you can see how the remaining flesh was pulled over the opening to seal off the end. As dramatic as this photo may be, considering that only a week ago a segment of the thumb was completely removed, it’s looking like it is healing up well. At two weeks though, things look a lot different.
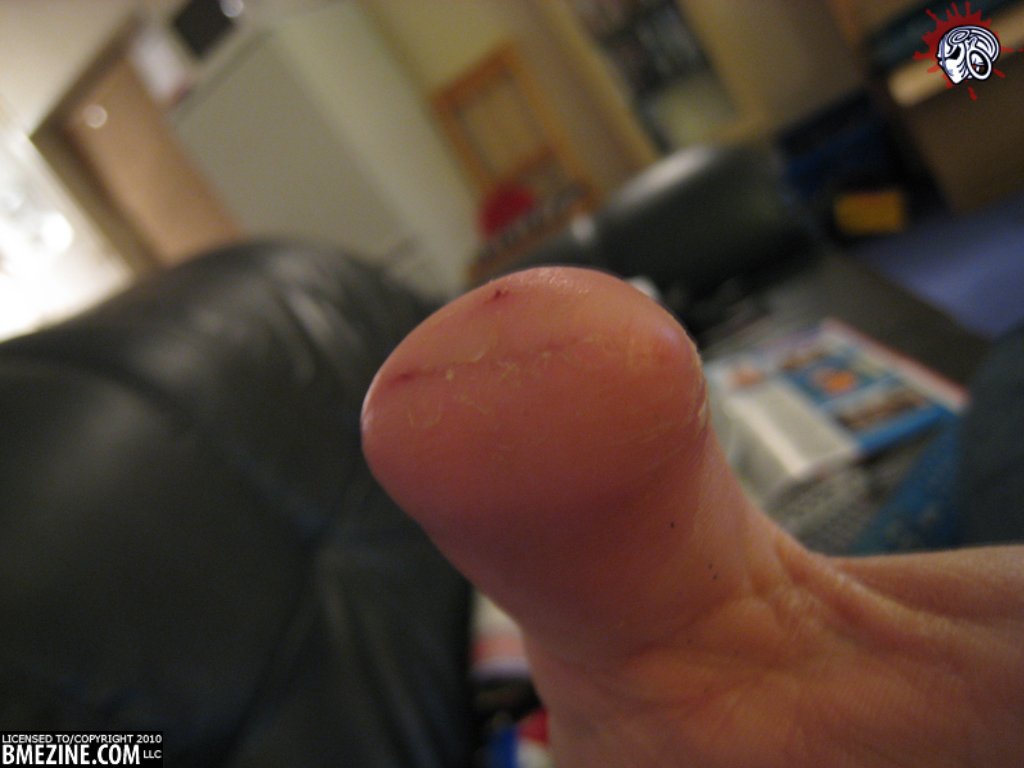
Almost all evidence of the sutures are gone, and there is only a brief hint of a scar along the top of the thumb. Just one week after this photo was taken, comes the final result.
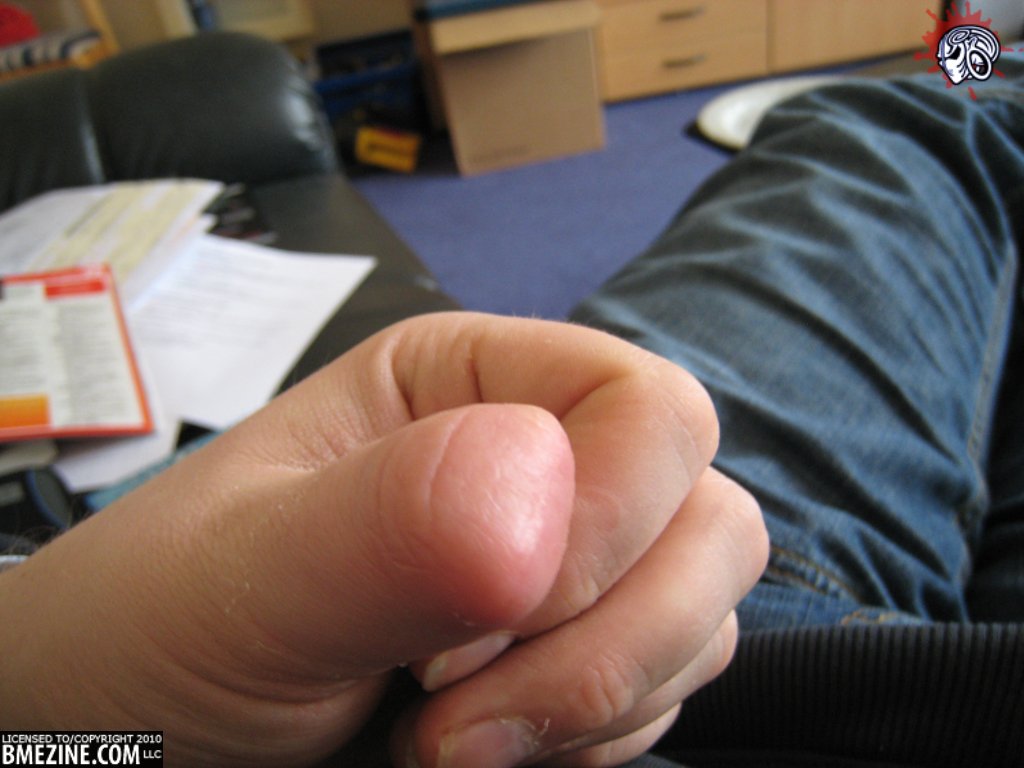
So three weeks after the removal, the thumb appears to be fully healed, with no trace of there even being anything above the joint.
Just to be clear, this type of modification is exceedingly dangerous. The fact that this was performed at home alone, healing as well as it did, is a combination of luck and a lot of skill. By no means should anyone just slice off a part of their body without doing a tremendous amount of research first. The reasons for amputation vary per individual, to some it fulfills a sense of completion, where the offending body part needed to be excised in order to satisfy the person’s inner needs. To others the act of amputation can be sexually motivated. Whatever the reason, it is not something to be taken lightly, and even the slightest mistake can result in serious injury or death.
If you are interested in seeing the rest of the images sent in by Thumbamputee, but don’t have a BME Hard subscription, you can sign up at any time.
